How to Install Nginx and Setting Up Server Block to Domain on AWS EC2
Before beginning this guide, first you must have an EC2 Instance, you can follow this post to launch an EC2 instance.
In this post, I use EC2 Instance of Ubuntu Server 18.04, and access the instance using SSH connection in a terminal of my Ubuntu Desktop, follow this post to connect to EC2 instance.
Configure security group of your instance to add HTTP & HTTPS connection in inbound traffic, you can follow this post to configure security group.
Prepare a domain or subdomain, added using A Record that pointing to public IP4 address of your instance, either default IP4 address or Elastic IP4 address.
Install Nginx
Update Packages
sudo apt updateInstall Nginx
sudo apt install nginxCheck Nginx Status
sudo service nginx statusOpen your instance detail and copy public DNS or public IP Address

EC2 Public DNS and Public IP Address
Open a browser and paste it to check that Nginx successfully installed
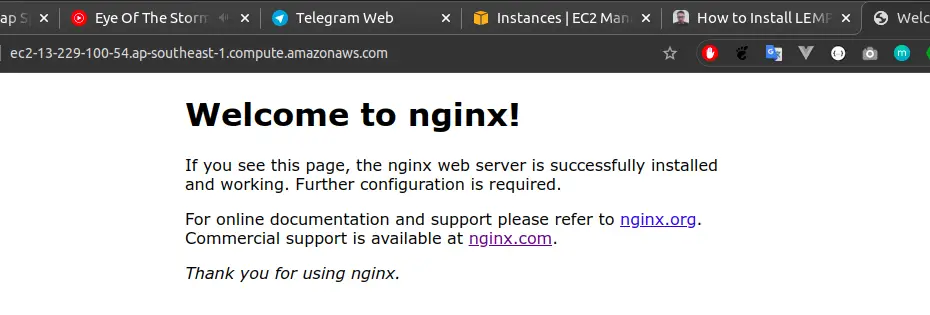
Nginx Welcome Page
Setting Up Nginx Server Block
When using the Nginx web server, server blocks (similar to virtual hosts in Apache) can be used to encapsulate configuration details and host more than one domain from a single server [ref].
In this post, I will set up my subdomain called api.budidev.com, but you should replace this with your own domain or subdomain name.
Create Directory and index.html Sample File
Create directory for api.budidev.com
sudo mkdir -p /var/www/api.budidev.com/htmlAssign ownership of the directory to current login user
sudo chown -R $USER:$USER /var/www/api.budidev.com/htmlCreate a sample index.html using nano
nano /var/www/api.budidev.com/html/index.htmlFill the index.html like the example below
<html>
    <head>
        <title>Welcome to api.budidev.com</title>
    </head>
    <body>
        <h1>Success!  The api.budidev.com server block is working!</h1>
    </body>
</html>
Create New Nginx Server Block
Create new configuration server block file called api.budidev.com
sudo nano /etc/nginx/sites-available/api.budidev.comFill the content like the example below
server {
  listen 80;
  listen [::]:80;

  root /var/www/api.budidev.com/html;
  index index.html index.htm index.nginx-debian.html;

  server_name api.budidev.com;

  location / {
          try_files $uri $uri/ =404;
  }
}
Enable the api.budidev.com configuration file by creating a link from it to the sites-enabled directory
sudo ln -s /etc/nginx/sites-available/api.budidev.com /etc/nginx/sites-enabled/Configure Nginx
To avoid a possible hash bucket memory problem that can arise from adding additional server names, it is necessary to adjust a single value in the /etc/nginx/nginx.conf file [ref].
Open nginx.conf file
sudo nano /etc/nginx/nginx.confFind the server_names_hash_bucket_size and remove the # symbol to uncomment the line
http {
    server_names_hash_bucket_size 64;
}
Test Nginx configuration
sudo nginx -tIf there aren’t any problems, restart Nginx to enable changes
sudo service nginx restartNginx should now serve your domain or subdomain. You can test this using browser by navigating to http://your-domain-subdomain.com, for me is http://api.budidev.com
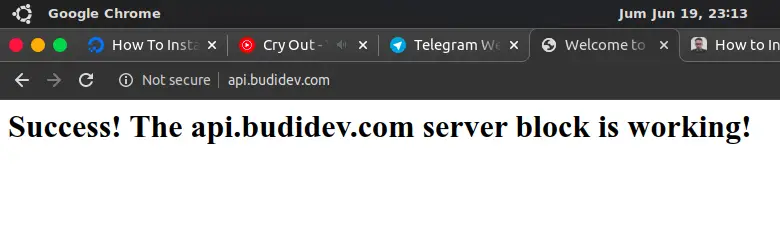
Success Nginx Server Block