How to Create an AWS Account to Get Free Tier Offers
Earlier before I’ve posted an article about How to Install LEMP Stack On Ubuntu AWS EC2. To launch an AWS EC2 Instance, first you have to own an AWS account, so in this post, I will show you how to create an AWS account then you will have access to Free Tier Offers by AWS.
First, go to AWS Sign Up Portal, fill the required fields, then click Continue
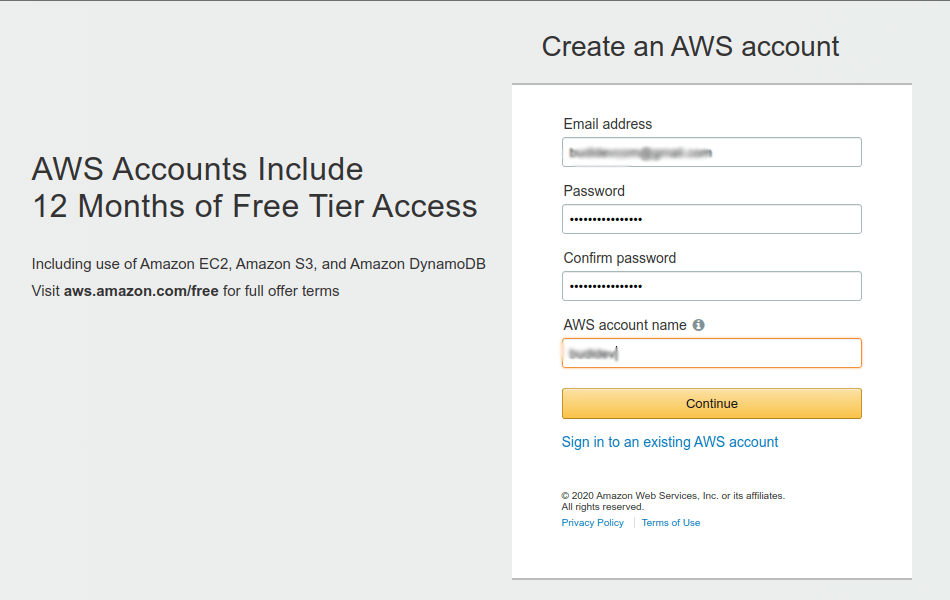
AWS Sign Up Portal
After that you will be asked for contact information, fill the required fields, then click Create Account and Continue

Contact Information
The next step is payment information, you can use Debit or Credit Card which accepted by AWS like Visa, Master Card, etc.
Noted here you will be charged $1 USD/EUR by AWS as verification to ensure the card is valid.
Fill the payment information, then click Verify and Add
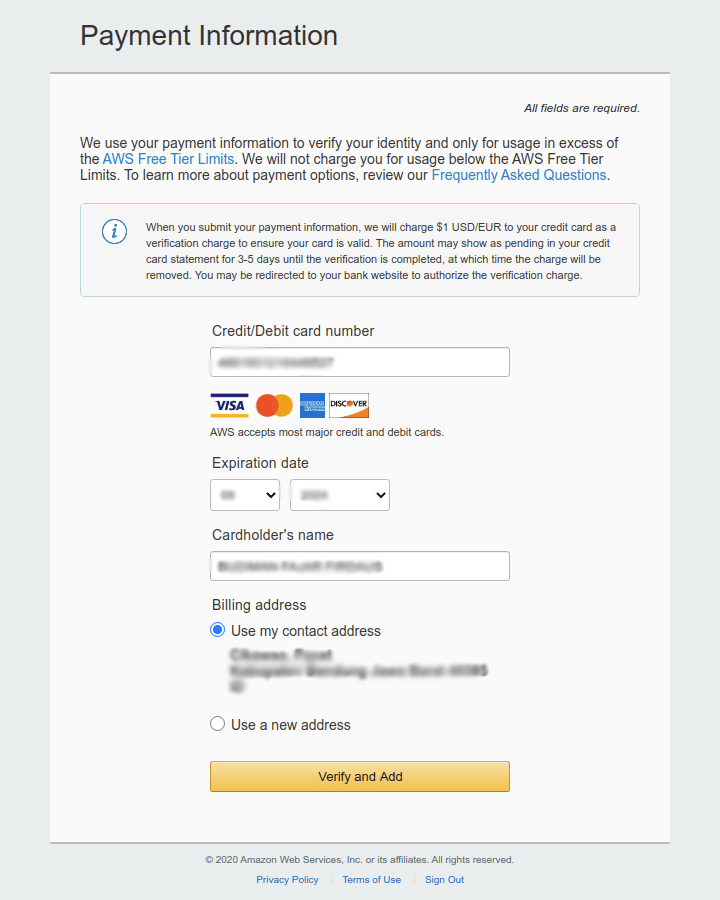
Payment Information
Next, before you can use your AWS account, you must add a phone number and verify it using verification code that will send via SMS.
Fill the phone number and the security check, then click Send SMS
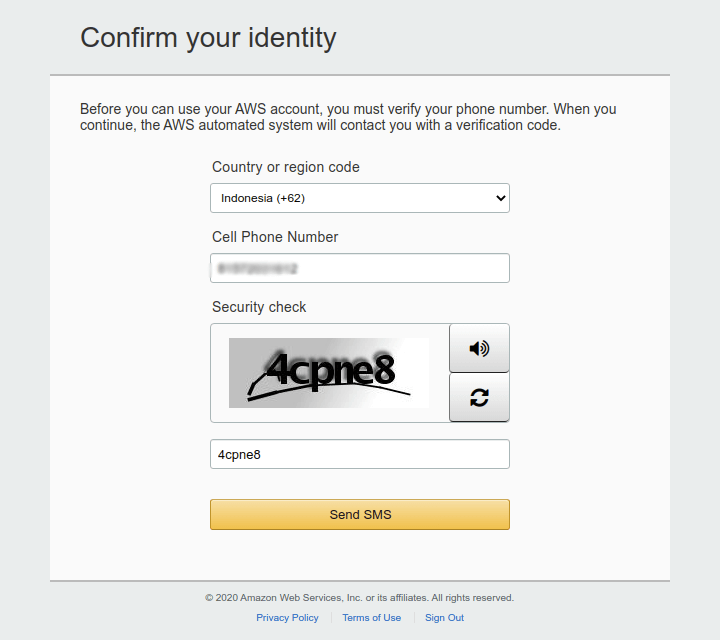
Confirm Identity
Check your phone, enter the verification code, then click Verify Code
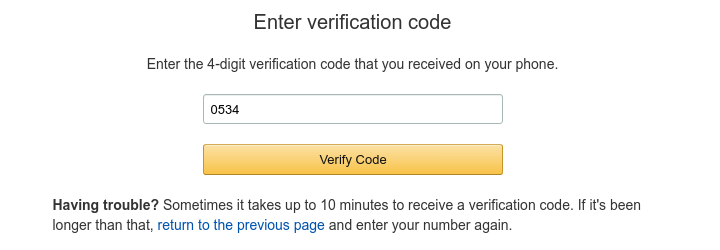
Verification Code
Select a Support Plan you preferred, you can choose Basic Plan for this
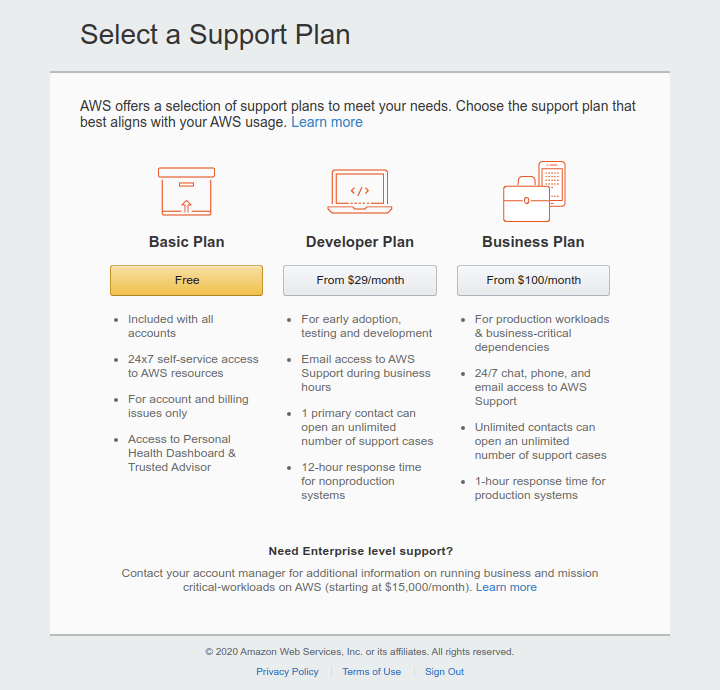
Support Plan
Congrats! now you have an AWS account :)
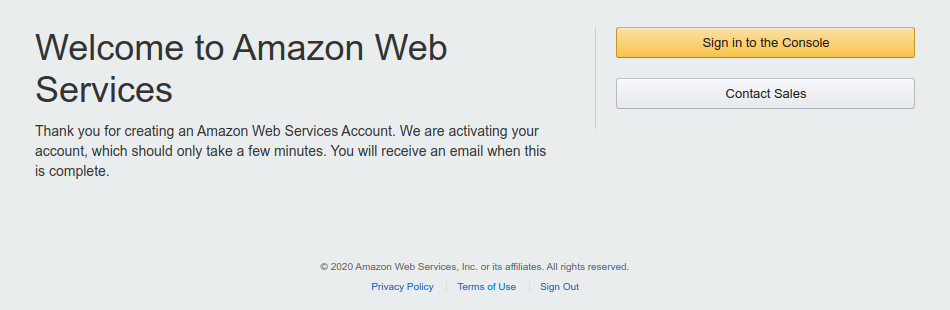
Welcome to AWS
You may have to wait a few minutes until you can sign in to AWS Management Console.
Find more information about AWS Free Tier Offers here.